
Follow my beginner-friendly recipe for Tiropita with homemade phyllo, the famous traditional Greek feta cheese pie, and make your yiayia proud! Learn how to make flaky phyllo dough from scratch using a simple, foolproof method, then fill it with a rich, flavorful feta cheese filling. This authentic Greek Tiropita recipe is one you'll come back to again and again.
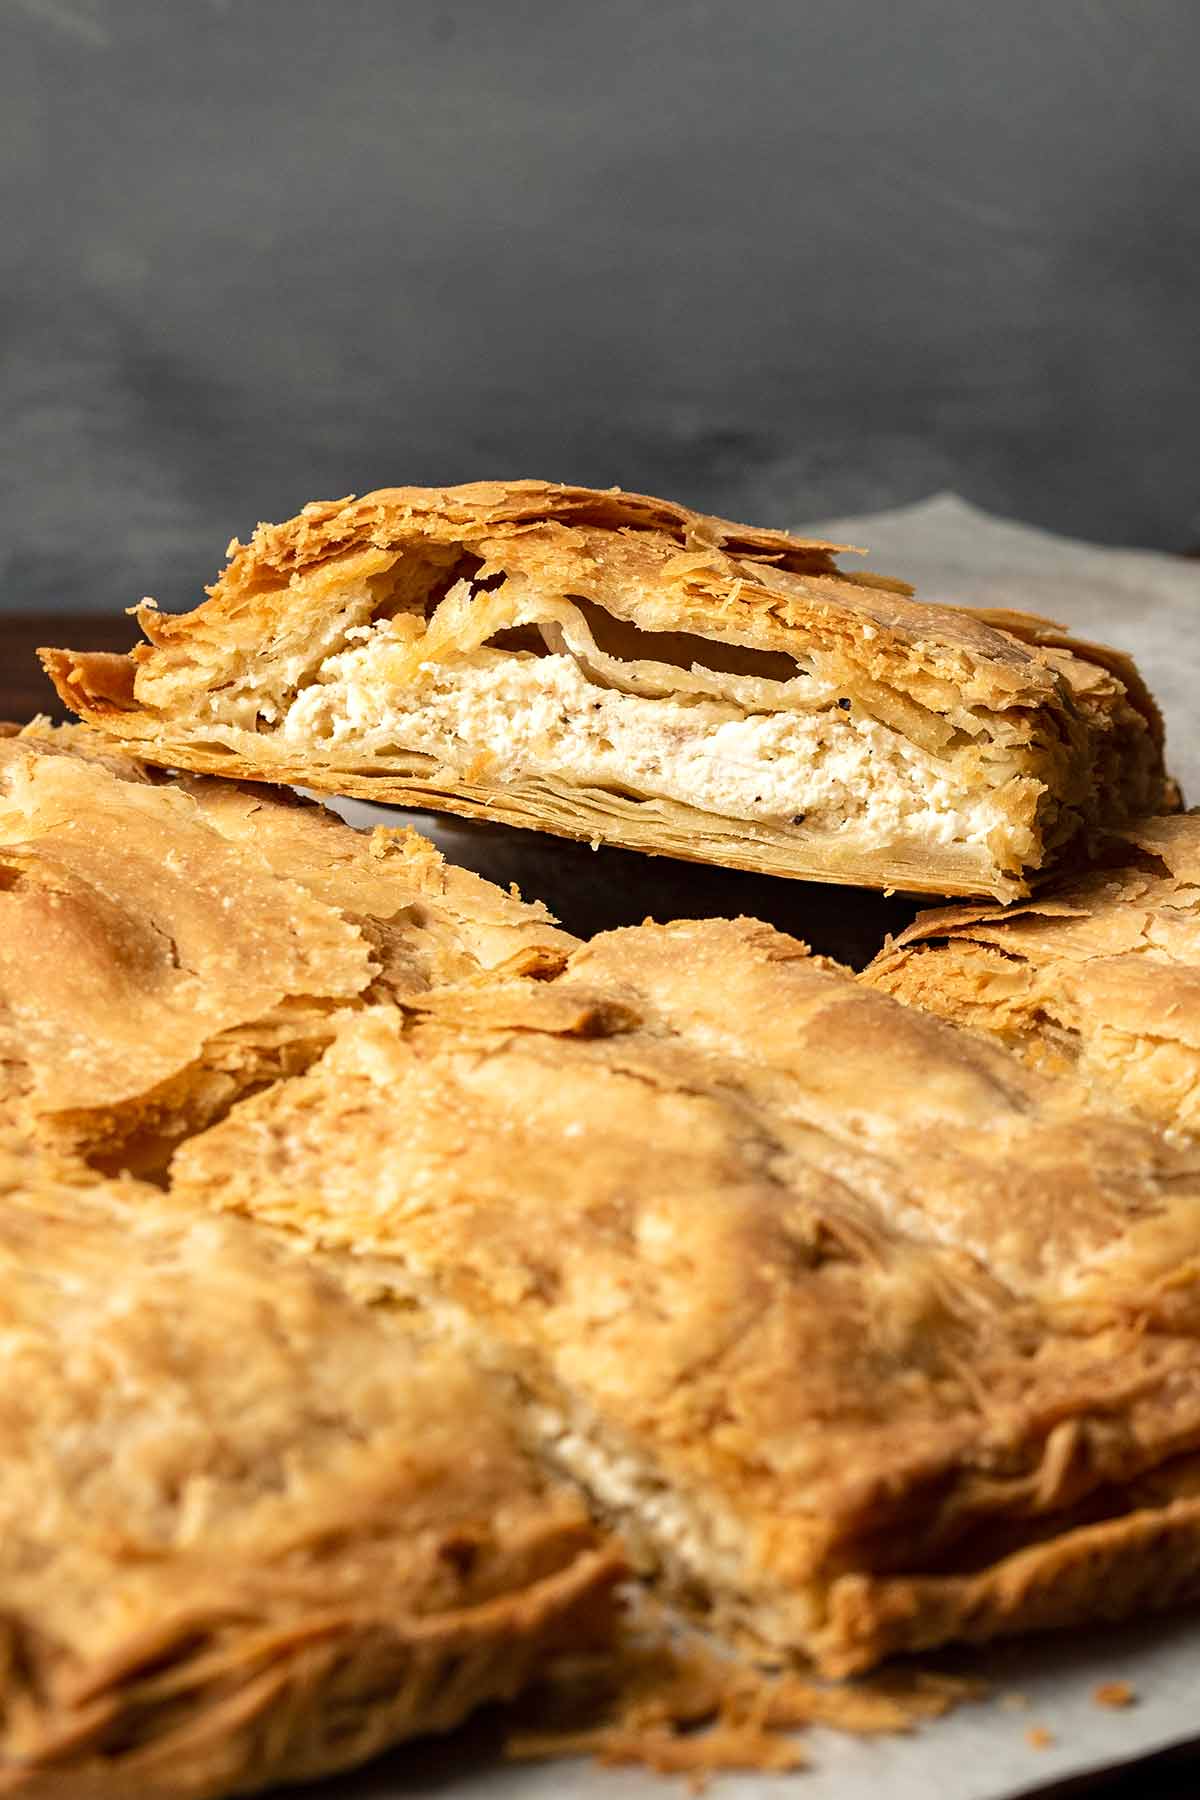
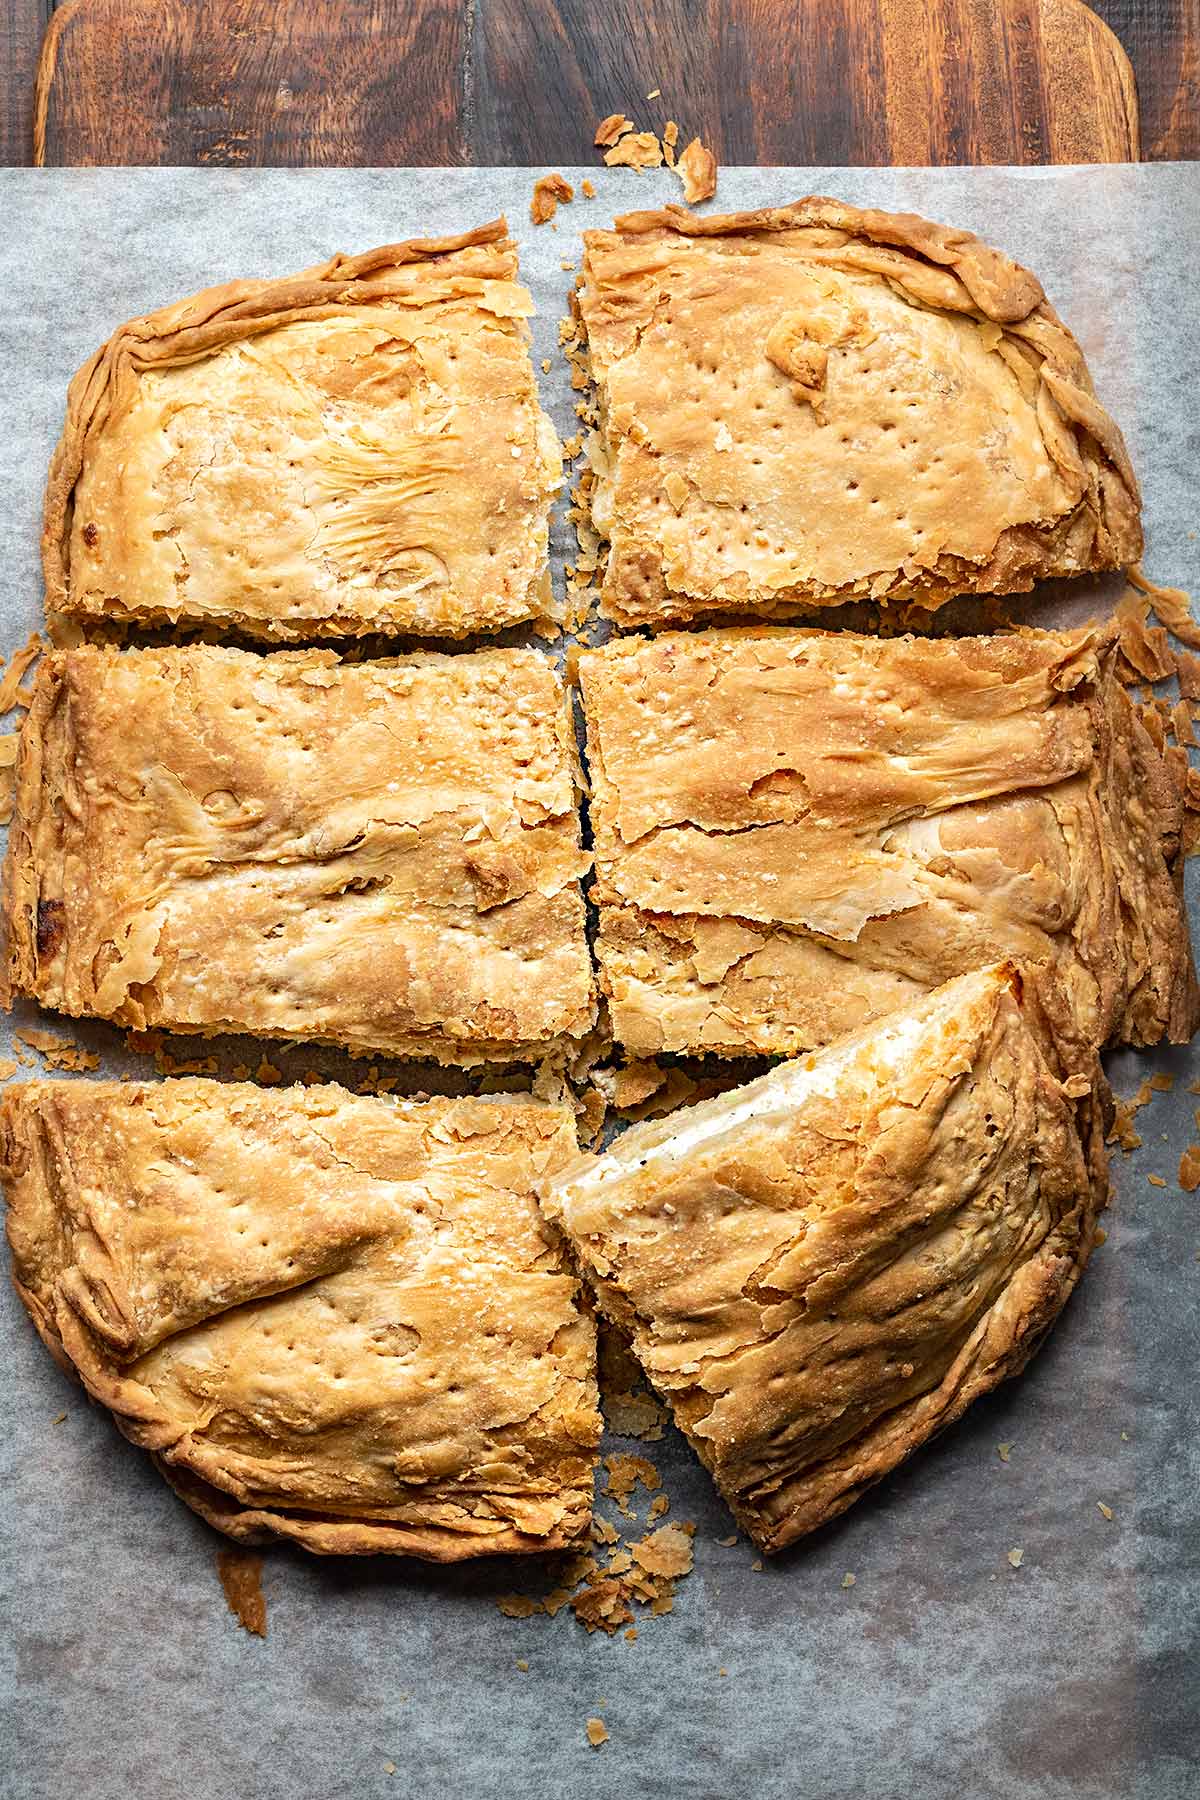
Here in Greece, we eat Tiropita in every chance we get. We enjoy it for breakfast, lunch, as a quick snack, or tucked into our kids' lunchboxes for school.
The good news? You don't have to be an expert in Greek cuisine to make an authentic tiropita from scratch. If you're short on time, store-bought phyllo will absolutely work. But if you can spare a little extra effort, homemade phyllo (or filo) is incredibly rewarding, and the flavor and texture are in a league of their own.
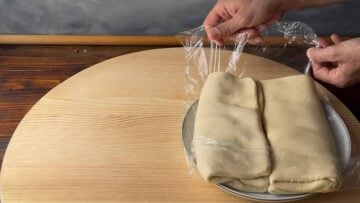
I suggest making the phyllo 1-2 days in advance and keeping it in the refrigerator. It becomes more pliable, easier to work with, and even more delicious.
👉 Better yet, make a few batches and freeze them for up to 6 months. Once the phyllo is ready, the rest is a piece of cake!
If you love Greek pies, make sure to try my Spanakopita recipe (a Greek spinach pie with or without feta), this Greek meat pie (kimadopita) with minced meat, and this sweet lazy Bougatsa (a no-fuss custard pie with phyllo).
📋 Ingredient notes
To make this Greek cheese pie recipe you'll need the following ingredients:
For the rustic Greek phyllo pastry
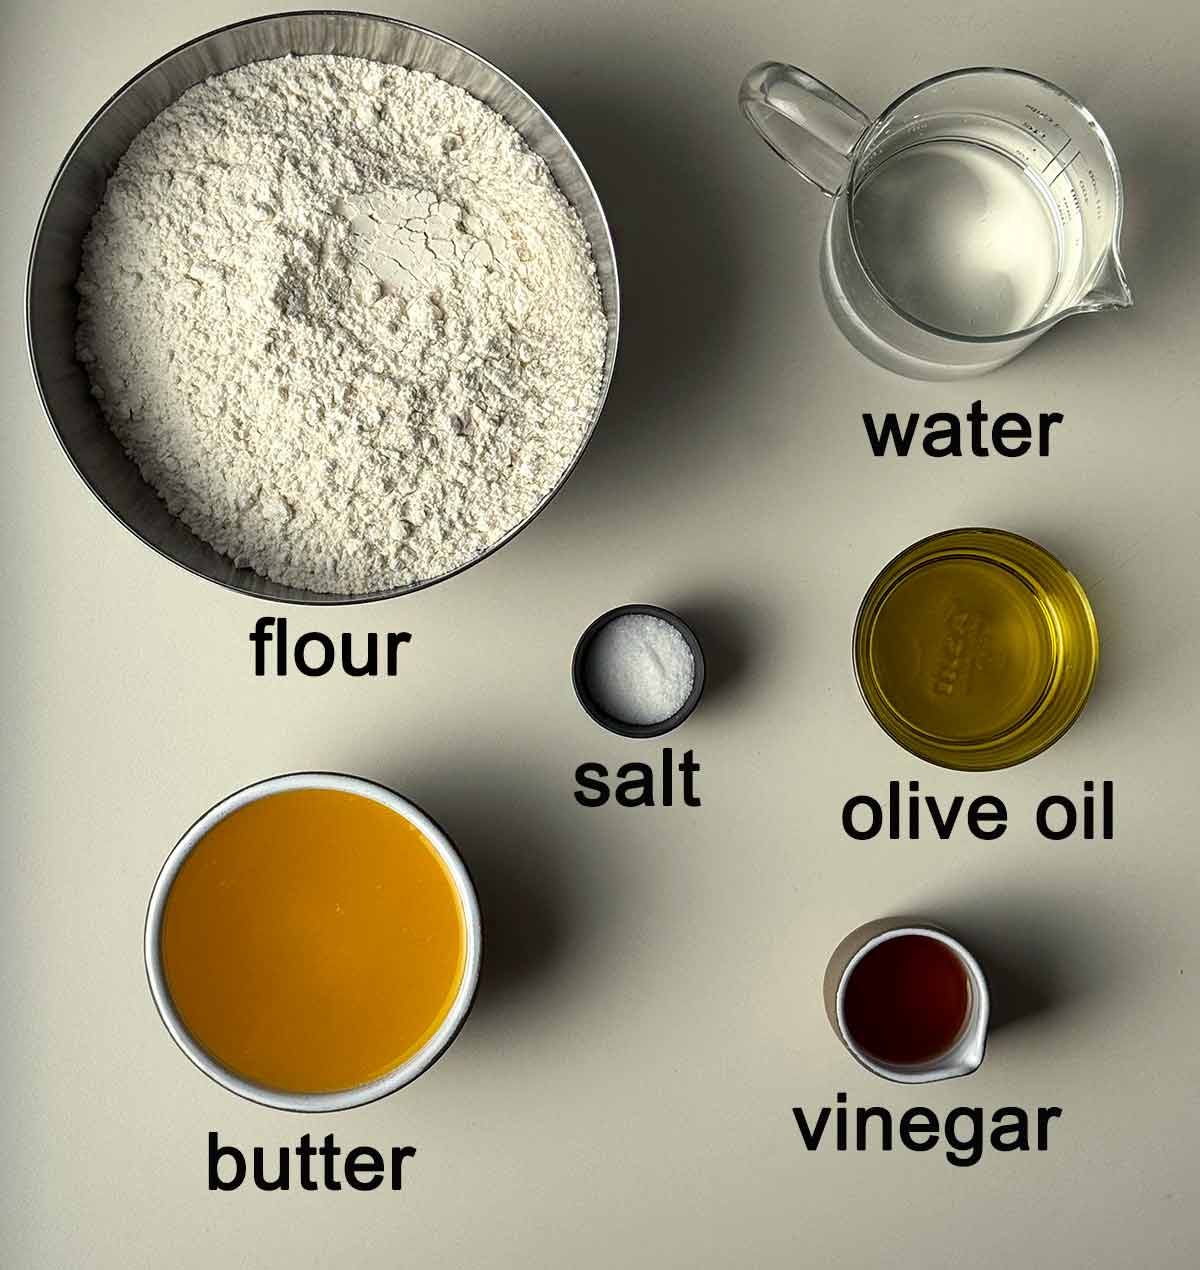
Flour: For the phyllo (or filo) I use all-purpose flour. You can replace 30% - 50% of the flour with whole wheat flour for extra fiber.
Butter: To make the phyllo crispy clarified butter↗️ or ghee should be used. In Greece, we traditionally use butter from sheep and goat milk which is already melted and clarified.
👉 How to make clarified butter: Melt unsalted butter over low heat until it separates into three layers: foam on top, clear golden butterfat in the middle, and milk solids at the bottom. Skim off the foam, then slowly pour the clear butterfat into a clean jar, leaving the milk solids behind. Let it cool before using or storing.
Olive oil: It's used when making the phyllo for extra tenderness.
Vinegar: It makes the phyllo more crunchy. Can be wine vinegar (white or red) or even apple cider vinegar. Sometimes in Crete, instead of vinegar we use Raki or Tsipouro.
For the feta cheese filling
For this simple recipe, I've kept the filling simple, just as a traditional Greek tiropita should be: feta cheese, Greek cream cheese (I especially love Cretan Galomyzithra), eggs, and plenty of freshly ground black pepper. From there, you can make it your own by adding fresh thyme, shredded cooked chicken, roasted peppers, or a blend of your favorite cheeses.
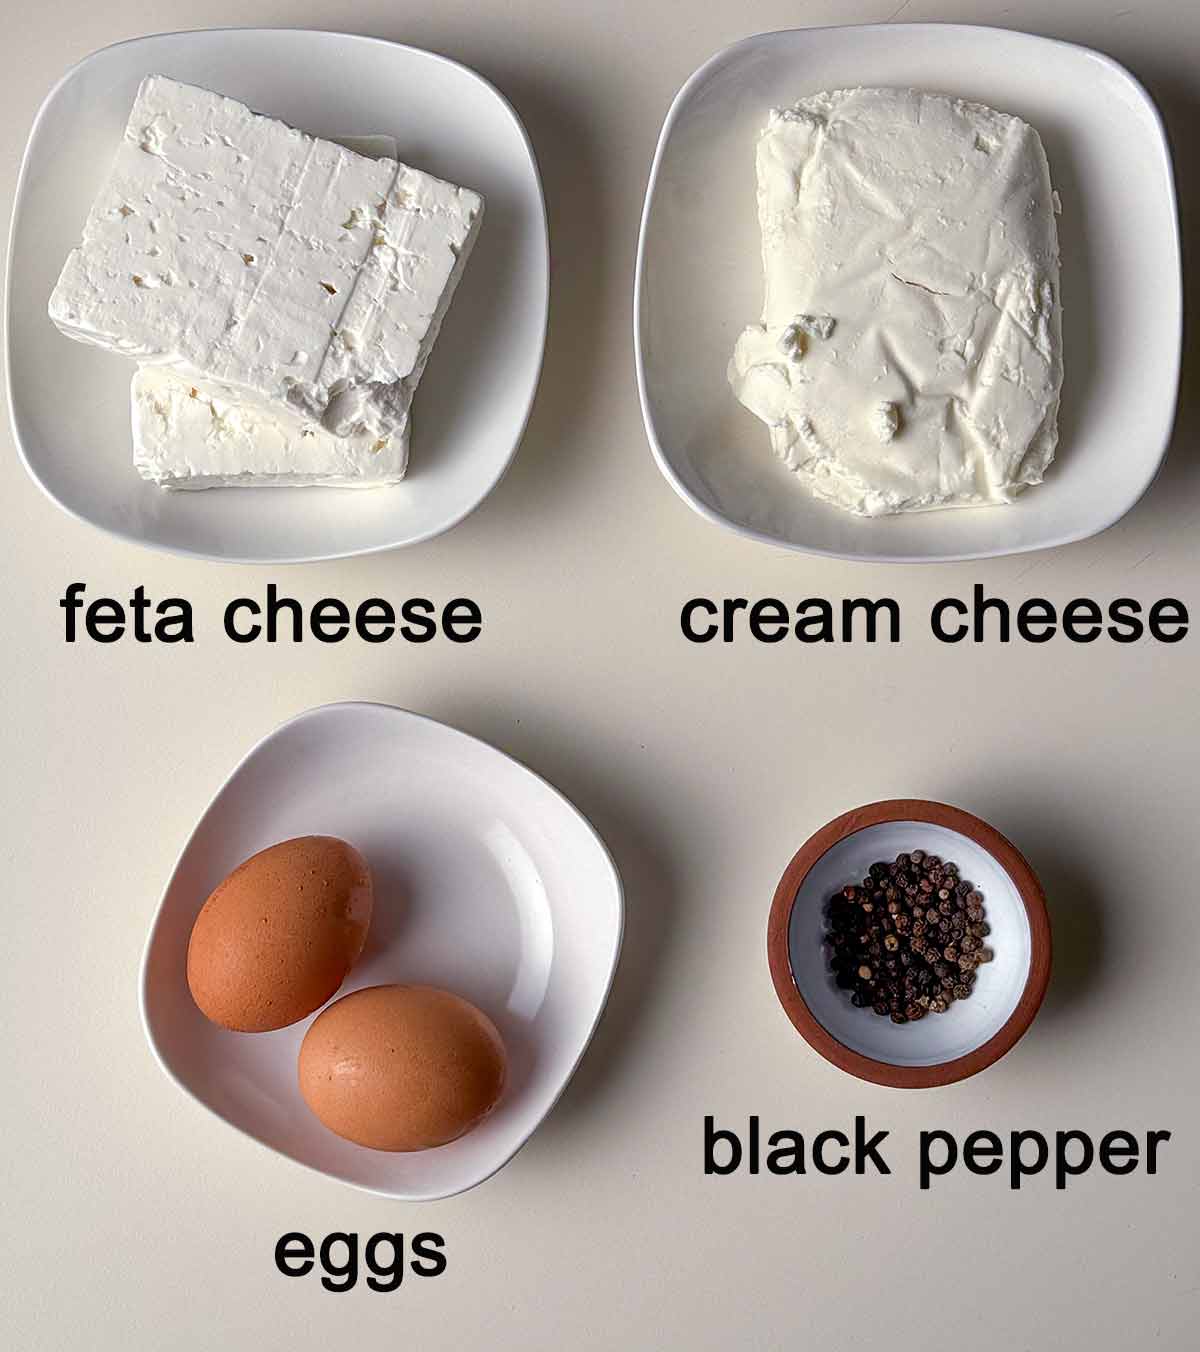
Feta cheese: Pick an authentic, Greek, qood quality feta you like eating on its own.
Cream cheese: In Greece we usually add mizithra or another fresh cream cheese to add creaminess to the filling. I, being from Crete, love a local type of cream cheese called galomyzithra. If you're outside Greece, Philadelphia cream cheese will also work fine 🙂
Eggs: They're used to make the filling more coherent. If you have an egg allergy, you can omit them.
Black pepper: freshly ground black pepper adds depth and pairs perfectly with the feta flavor.
For the full list of ingredients with quantities, please see the recipe card ⬇️ at the end of this post.
👨🍳 Expert Tips
Follow these expert tips to make the best Greek cheese pastry (Tiropita):
✅ The dough for the phyllo needs two resting times (that's why I suggest making it in advance):
- The first is for the gluten to relax so that you can roll it out and brush it with butter to create the layers (this can be 30-60 minutes - room temperature).
- The second resting time is for the butter to chill and the dough to mature (this can be for a few hours to 3 days - in the refrigerator)
✅ For the crispiest phyllo, make sure to use clarified butter or ghee. Normal butter is 80% fat and the rest is moisture which makes the phyllo less crispy.
✅ Pick a good quality Greek feta (not feta crumbs).
✅ Make the top phyllo a bit larger than the bottom, so that you can crinkle it. This makes the texture even better.
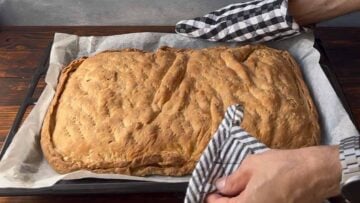
✅ Before baking spray the surface of the pie with water. It will make it extra crispy.
✅ Bake in a preheated fan oven. If your oven doesn't have a fan, increase the temperature by about 25°F (20°C).
🎥 Video
Watch a short video for how to make this easy Tiropita recipe:
🎵 Music on Video: Outside, Musician: @iksonmusic
📖 Recipe
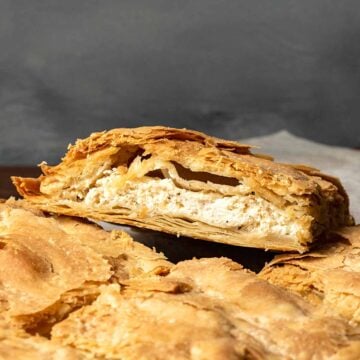
Easy Tiropita recipe (Greek Feta Cheese Pie)
Ingredients
For the phyllo pastry dough:
- 6 cups (720 g) all-purpose flour
- 2 teaspoons (10 g) fine salt
- ¼ cup (55 g) olive oil
- 1 ½ cups (320 g) water (lukewarm)
- 2 tablespoons (30 g) vinegar
- 1 cup (230 g) clarified butter or ghee (for brushing, see note#1)
For the feta filling:
- 14.1 ounces (400 g) feta cheese
- 10.6 ounces (300 g) cream cheese (see note#2)
- ½ teaspoon freshly ground black pepper (or to taste)
- ½ teaspoon dried thyme (optional)
- 2 eggs
Instructions
- Please follow these instructions to make the homemade Greek phyllo.✏️ If you're using store-bought phyllo, you'll only need melted butter to brush between the layers.✏️ If you're using puff pastry, you won't need any butter, as puff pastry already contains plenty of butter.

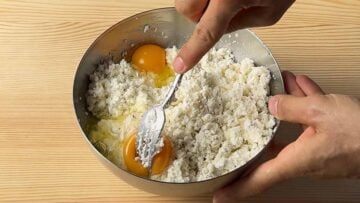
- Make the filling: Crumble the feta into a large bowl using a fork or your hands. Add the cream cheese, the black pepper, the thyme (if using) and eggs and mix well.
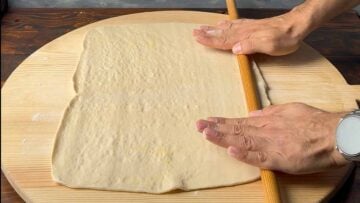
- Take the phyllo dough out of the fridge. At first, it will be hard. Press it firmly with the rolling pin to flatten it and make it softer. Roll out one piece of dough (the half of the total dough) into a sheet approximately 15 × 12.6 inches (38 × 32 cm).(If you're making a pie in a round baking pan - see note #3, first shape the dough into a ball, the flatten into a disc with your hands and then roll out with the rolling pin).
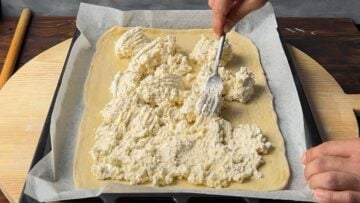
- Transfer it to a piece of parchment paper, then place it on your baking sheet. Lightly brush with some of the remaining butter, then spread the feta filling evenly over the phyllo using a fork or spatula, leaving a 1-inch (2.5 cm) border around the edges.
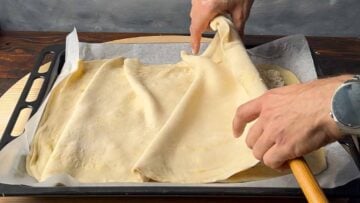
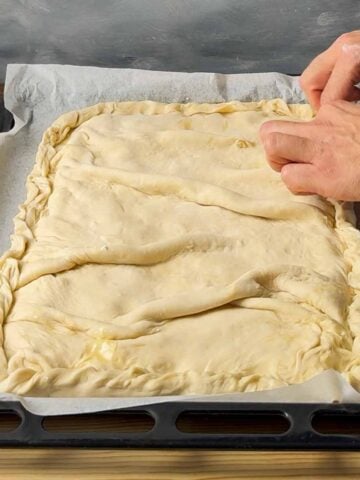
- Repeat step #3 and roll out the second piece of dough into a sheet approximately 21.6 × 12.6 inches (55 × 32 cm). This sheet is larger because it will be crinkled before being placed over the filling.Place the second sheet over the filling, gently crinkling it to create a crispier texture. You can do this by lifting it with your hands or by wrapping it loosely around your rolling pin and then unrolling it over the filling. Don't worry too much if it isn't perfect, you can adjust the crinkles with your hands afterward.👉 Now is a good time to preheat your oven to 360°F (180° C), fan-forced.
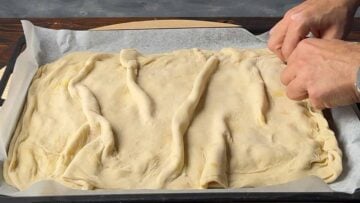
- Seal the edges by pinching them together with your fingers.Starting at one point on the rim, pinch the top and bottom layers together between your thumb and index finger. Lift slightly, then twist the pinched section diagonally inward and press it firmly against the rim of the pan to form the first pleat. Continue this pinching and twisting motion all the way around the pie.
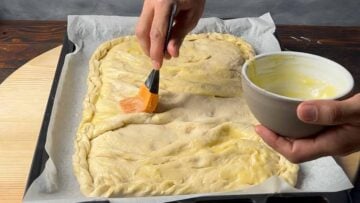
- Lightly brush the top with butter, paying extra attention to the crinkles and folded edges. Prick the surface several times with a fork to allow steam to escape during baking.
- Immediately before baking, sprinkle the surface with a little water (optional). Bake on the middle to lower oven rack at 360°F (180° C), fan-forced for about 1 hour, then reduce the temperature to 320°F (160°C) and continue baking for 10-15 more minutes or until deeply golden brown.👉 Baking time may vary depending on the oven. If you do half the recipe, it may need less time.Let the pie cool on a wire rack, then transfer it to a cutting board, slice, and serve warm or at room temperature.
Notes
Storage:
Allow the pie to cool completely to room temperature before storing to prevent sogginess from condensation. ➡️ Store at room temperature for up to 1 day. ➡️ Refrigeration: Wrap the cooled pie tightly in aluminum foil, or place it in an airtight container. Store it in the refrigerator for up to 3 to 4 days. ➡️ Freezing unbaked: Assemble the pie in a freezer-safe dish, cover tightly with layers of plastic, and freeze for up to 6 months. Bake directly from frozen, adding 10 to 15 minutes to the original baking time.Reheating:
Oven method: Set your oven to 350°F (180°C), place the refrigerated pie slices directly on a baking sheet, very lightly spray with water and bake for 15 minutes. Air fryer: Set the air fryer to 330°F (165°C), place 1-2 slices in the basket, ensuring proper airflow around them, very lightly spray with water and air fry for 7 to 10 minutes.More recipes you'll love:
Nutrition
💭 FAQs
The main difference between Spanakopita and Tiropita is the filling. Tiropita is a traditional Greek cheese pie made primarily with feta (often combined with other cheeses and eggs), while Spanakopita is a spinach pie made with spinach, feta (sometimes) and herbs. Both are typically prepared with flaky phyllo dough, but tiropita has a rich, cheesy flavor, whereas spanakopita is more savory and herbaceous.
Tiropita has a rich, savory, and tangy flavor with a creamy, cheesy filling and a crisp, flaky phyllo crust. The feta gives it its signature salty, slightly tangy taste, while the eggs and any additional cheeses make the filling smooth and creamy. When baked until golden, the buttery phyllo adds a delicious crunch that contrasts beautifully with the soft filling.
🍳 More Greek recipes

If you tried this Greek Tiropita recipe, please leave a 🌟 star rating and let me know how it went in the 📝 comments below. I love hearing from you!

George says
This was the best tiropita I’ve had in years! The filling was generous and the phyllo so crunchy and buttery! Thank you Makos for this amazing recipe
Makos says
Thank you so much George, hope you enjoy it!