
Become an expert in Greek pies with this traditional method for making Greek phyllo dough. Once you try this easy technique, passed down through generations of Greek home cooks, you'll never buy store-bought phyllo again. Best of all, you can make a large batch and freeze it for later, so you'll always have homemade phyllo pastry on hand for Tiropita, Spanakopita, and all your favorite Greek recipes (not suitable for Baklava).
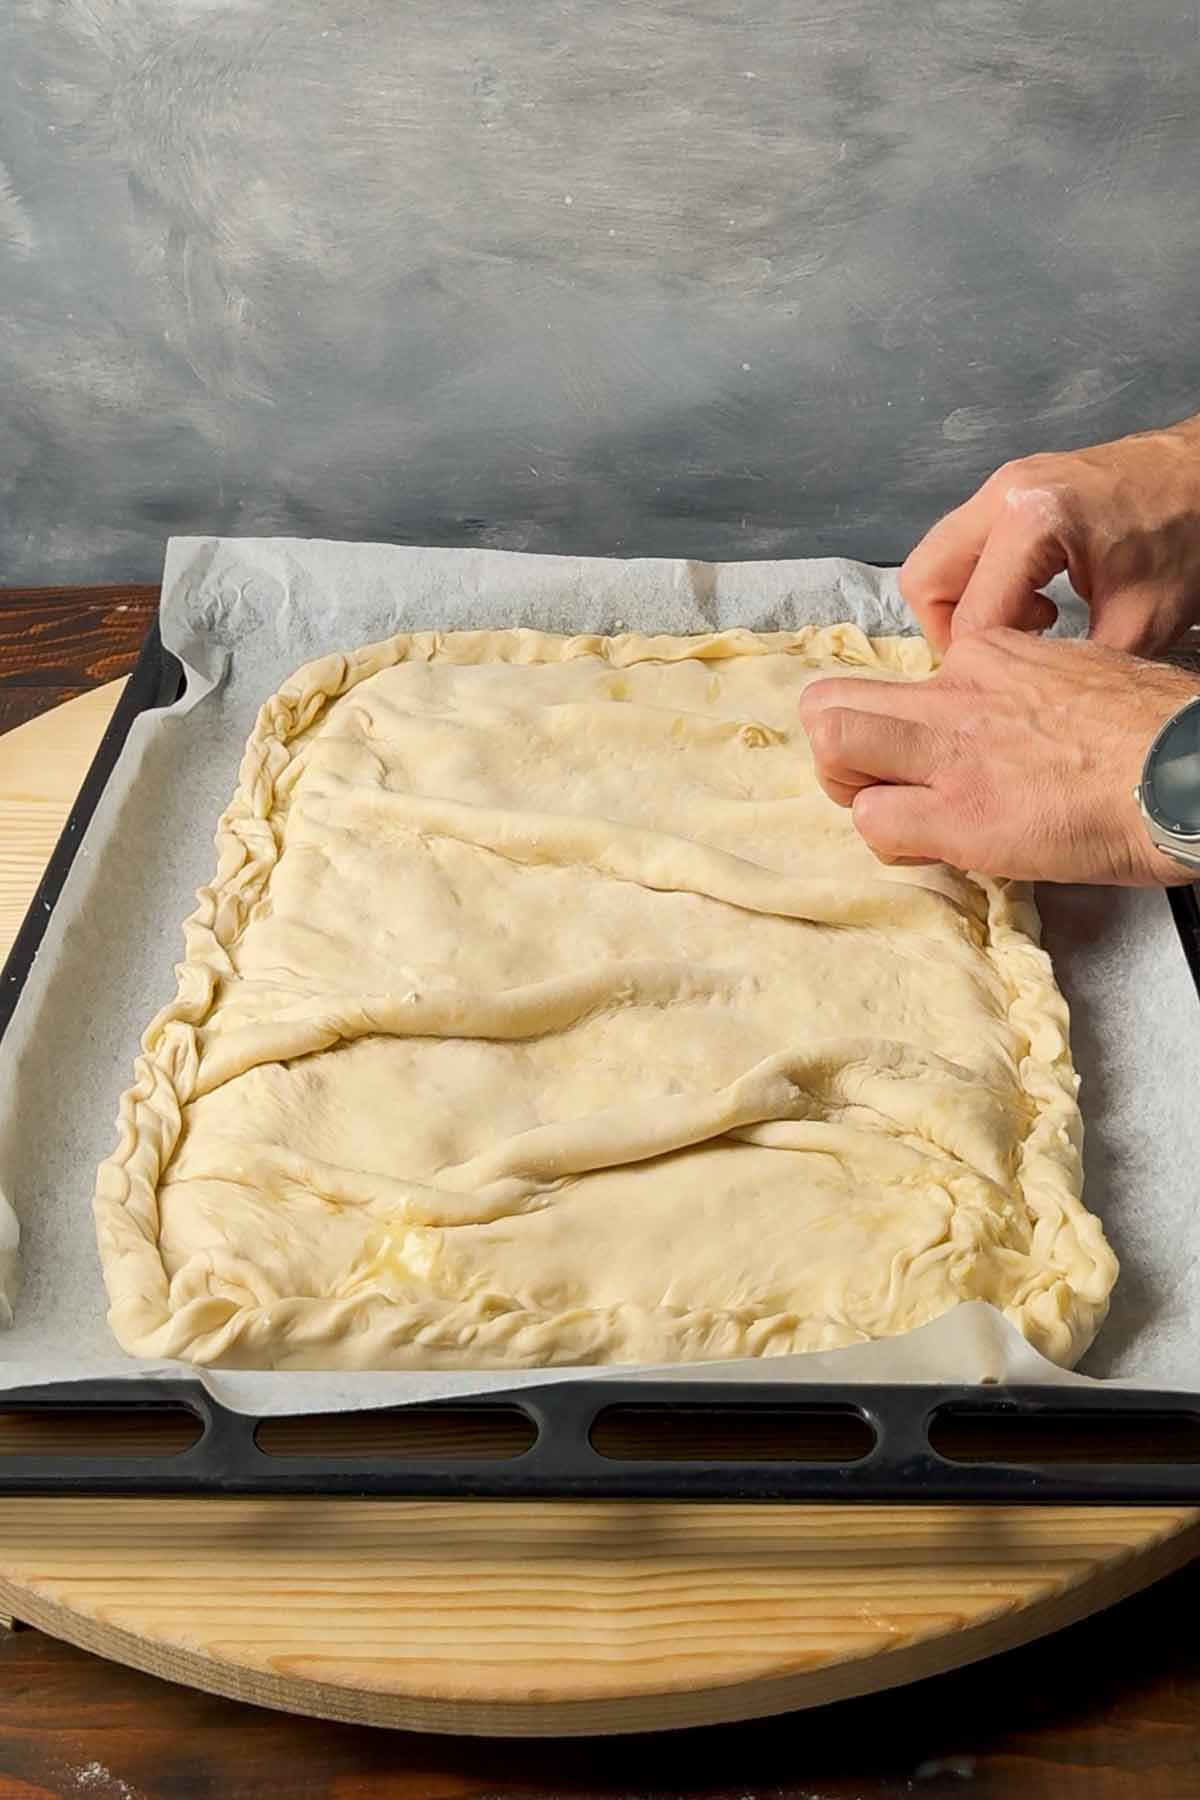
Growing up in Greece, I've eaten countless homemade pies, and the difference between a pie made with homemade phyllo and one made with store-bought dough is unmistakable. The homemade version has a texture and flavor that you simply can't replicate.
My aunt Stella taught me this easy, traditional method for homemade phyllo dough (or filo dough) which is used by many home cooks, especially in northern Greece. Usually, it's referred to as Horiatiko (village) filo because the phyllo layers are thicker than typical store-bought phyllo, giving your pies a rustic, buttery texture with the perfect balance of flakiness and chewiness.
Another great thing about this phyllo dough recipe is that it's perfect for making ahead and freezes beautifully. You can store the dough in the refrigerator for up to 4 days, freeze it as is, or even assemble a pie and freeze the whole thing for baking later. Choose the method that works best for you.
📋 Ingredient notes
To make this Greek phyllo dough recipe you'll need the following ingredients:
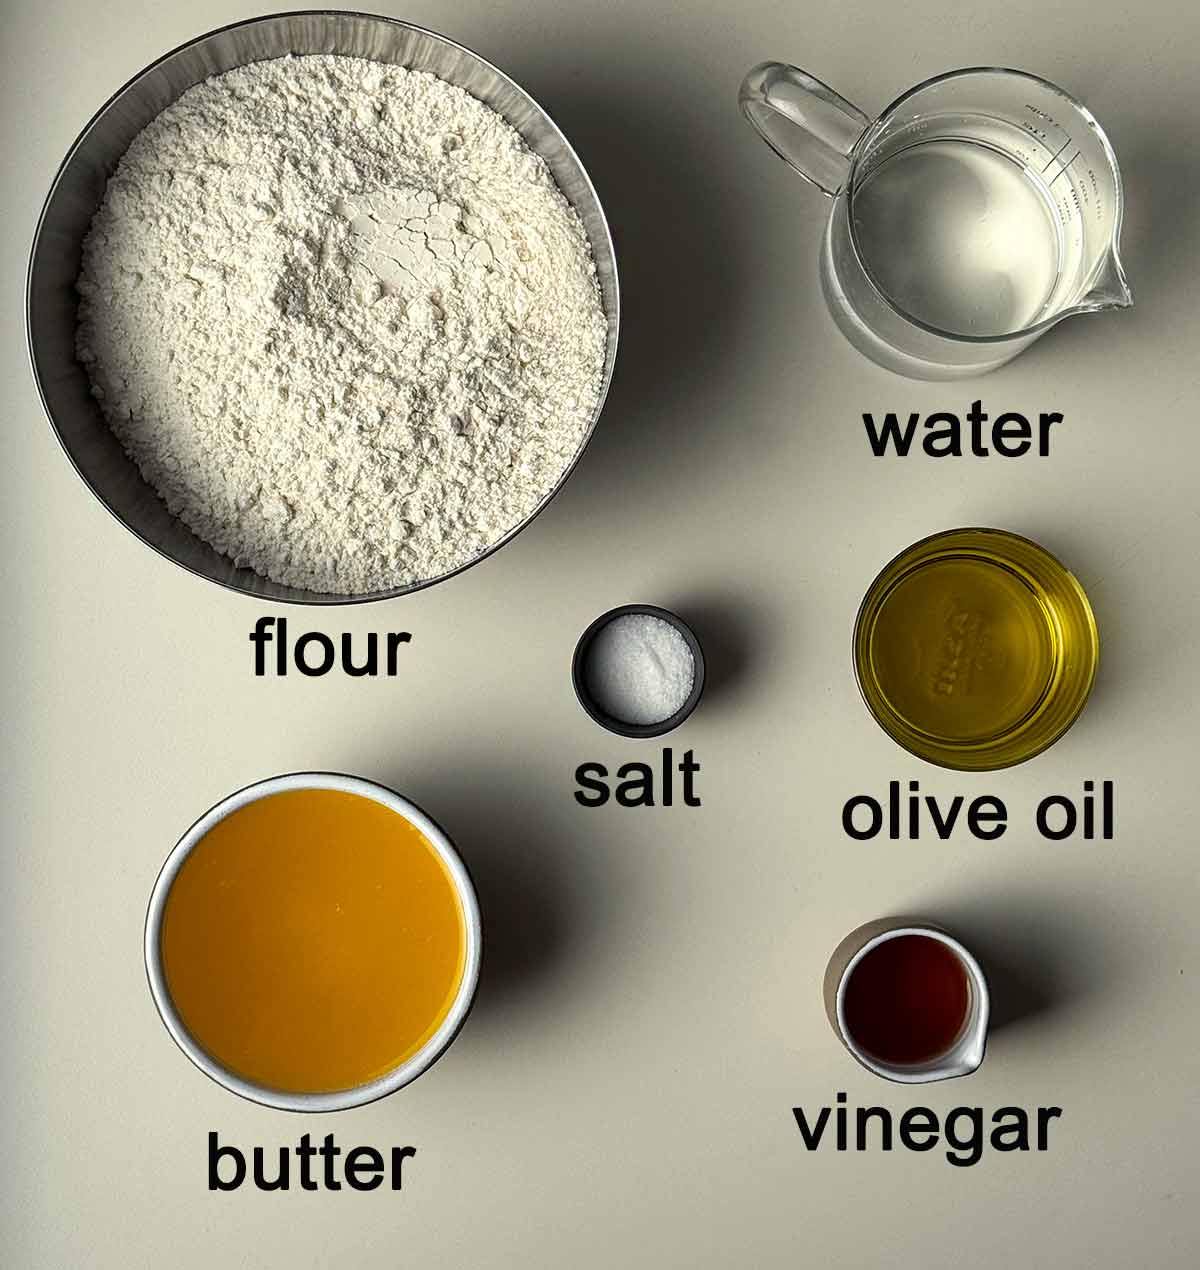
Flour: All-purpose flour is perfect for this recipe. For extra fiber replace half of the flour with whole wheat flour.
✏️ You can replace ¼ of the flour with barley flour, rye flour, or a multigrain flour. Depending on the type of flour you use, you may need to add a little extra water or flour to achieve the right dough consistency.
Butter: To make the filo pastry crispy and flaky you'll need to use clarified butter. The Greek version of clarified butter is called liomeno (melted) and is traditionally made from pure sheep's and goat's milk, offering a rich, nutty flavor and distinct aroma. It is a staple in Greek baking and pastry-making, famously used in sweets like kourabiedes (butter cookies) and baklava. You can also use normal clarified butter or ghee ↗️.
👉 How to make clarified butter: Melt unsalted butter over low heat until it separates into three layers: foam on top, clear golden butterfat in the middle, and milk solids at the bottom. Skim off the foam, then slowly pour the clear butterfat into a clean jar, leaving the milk solids behind. Let it cool before using or storing.
Olive oil: It's mixed with the flour when making the phyllo for extra flakiness.
Vinegar: The acidity makes the phyllo dough more crunchy. Can be wine vinegar (white or red), apple cider vinegar or even lemon juice. Sometimes in Crete, instead of vinegar we use Raki or Tsipouro (spirits). If you like ouzo, you can also use that.
For the full list of ingredients with quantities, please see the recipe card ⬇️ at the end of this post.
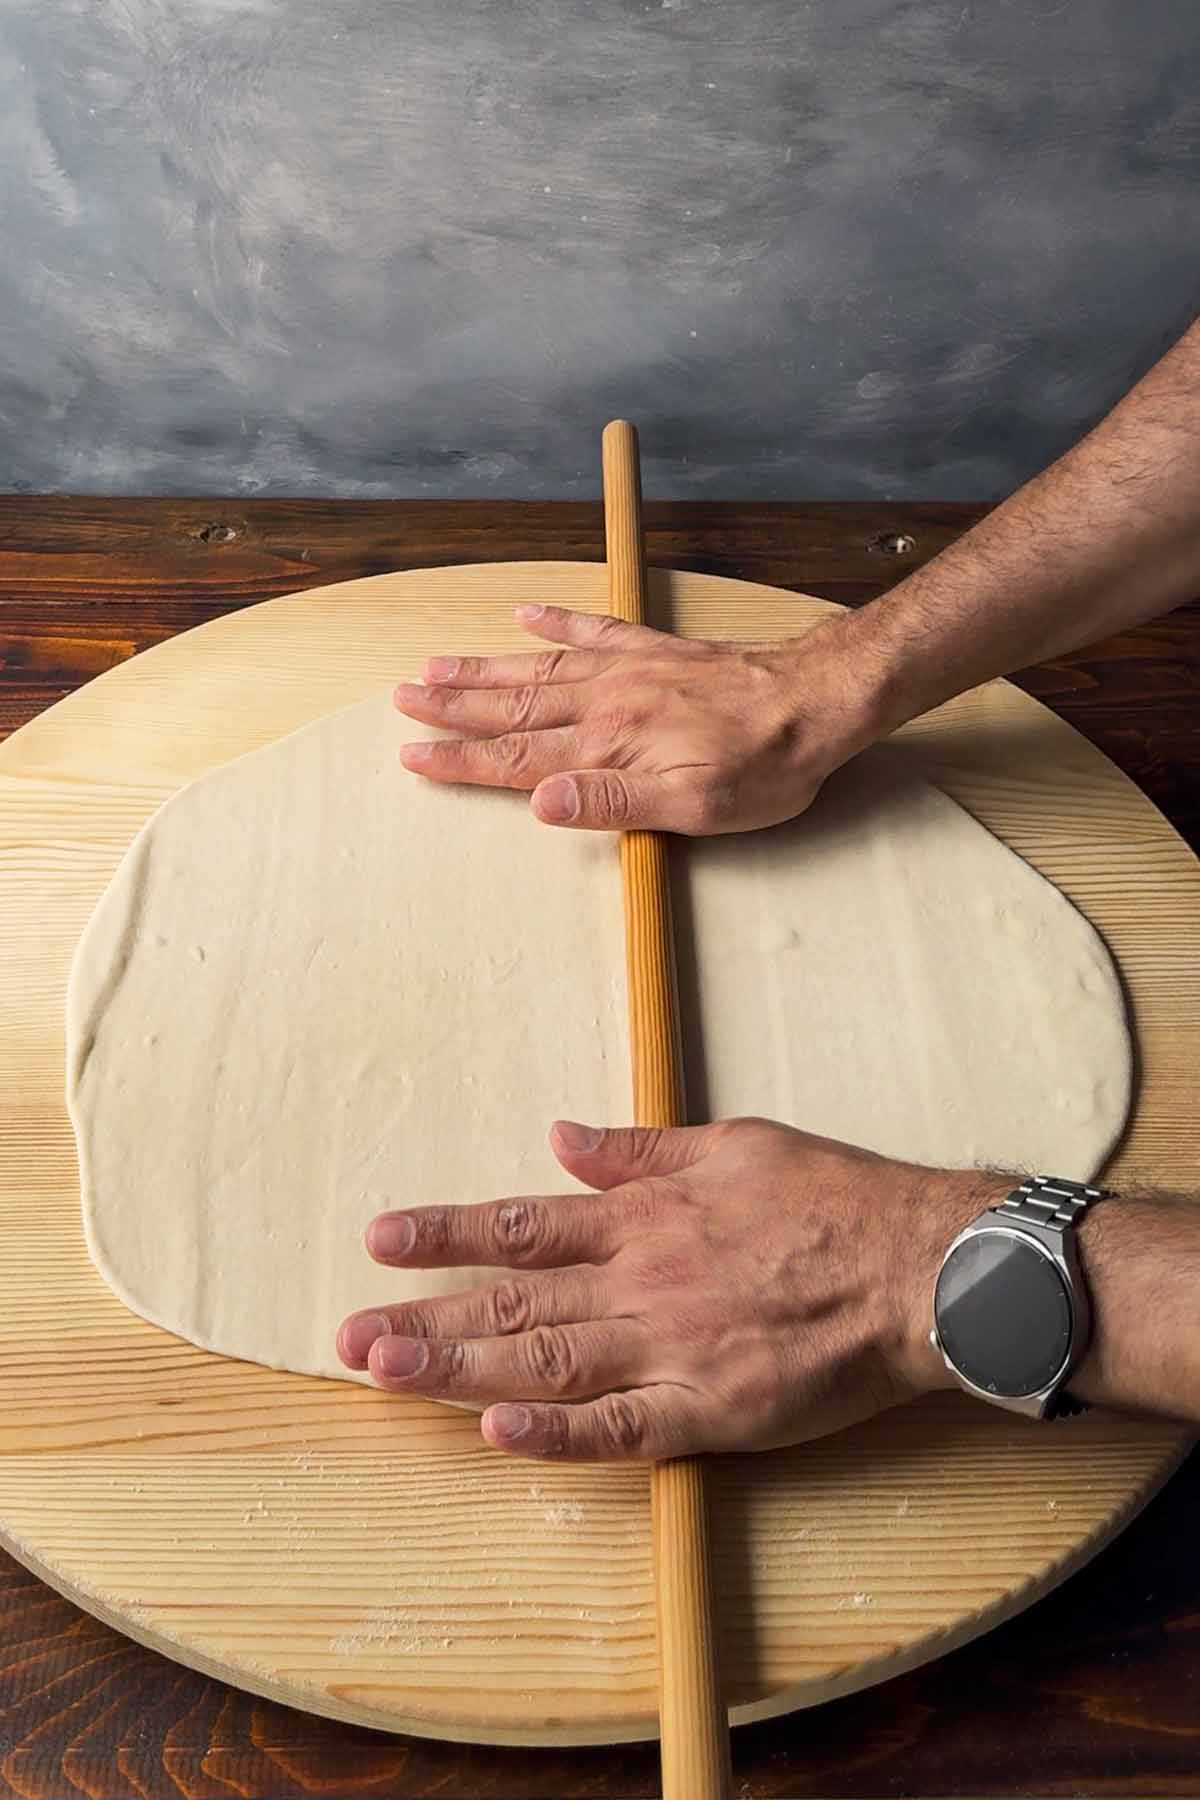
✏️ Greek home cooks use a rolling pin that's thinner and longer than your standard American rolling pin. It resembles a wooden broom stick and is called verga or plastis (or you may know it by the Italian name Matarello). Using the plasti, the dough is stretched and rolled gradually until it becomes large enough to cover the baking pan. I have adjusted this technique so that you can make homemade phyllo with whatever rolling pin you have on hand. You can see more of this technique in the video below.
🎥 Video
Watch a short video for how to make this easy recipe for filo pastry:
🎵 Music on Video: Building a Treehouse, Musician: As Tall As Pine
Recipe Card
📖 Recipe
Easy Greek Phyllo Dough Recipe (beginner friendly)
Ingredients
- 6 cups (720 g) all-purpose flour (plus extra for rolling, see note#1)
- 2 teaspoons (10 g) fine salt
- ¼ cup (55 g) olive oil
- 1 ½ cups (320 g) water (lukewarm)
- 2 tablespoons (30 g) vinegar (see note#2 )
- 1 cup (230 g) clarified butter or ghee (see note#3)
Instructions
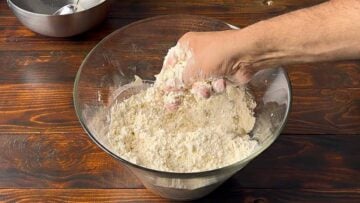
- Add the flour, salt, and olive oil to a bowl and rub the mixture with your fingertips until it resembles wet sand.👉 This is my aunts tip. The longer you allow the flour to absorb the olive oil, the crispier the phyllo will be.You can also do this in the bowl of your stand mixer.

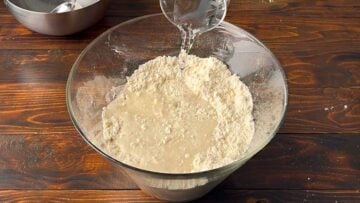
- Add the water and vinegar and mix until a dough forms.👉 Using lukewarm water when kneading will help the dough come together more evenly.
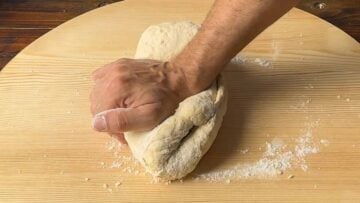
- Knead the dough for a few minutes until it becomes smooth and elastic (by hand or with the dough attachment if using a stand mixer). You may need to add a little extra flour if the dough feels too sticky. Wrap it in plastic wrap and let it rest at room temperature for 20 minutes to 1 hour.👉 This resting stage is essential because it allows the gluten to relax, making the dough easier to roll and more pliable.
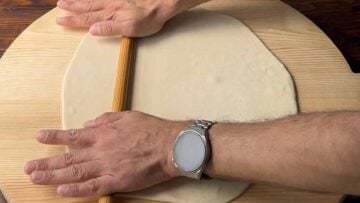
- Divide the dough into two equal pieces. Lightly flour your work surface and flatten the dough into a small disk with your hands. Using a rolling pin, roll the dough into a round sheet about 21 inches (53 cm) in diameter.👉 Roll from the center outward, rotating and flipping the dough a quarter turn after each few rolls.👉 Dust with a little more flour (or corn starch) if it starts to stick.👉 At this stage, the shape doesn't need to be perfect. If the dough keeps springing back while rolling, let it rest for a little longer.
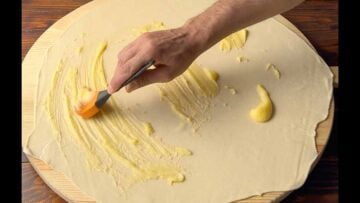
- Brush the sheet with softened butter.
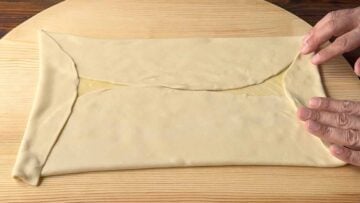
- Fold the dough in from each side to create a rectangle (again, it doesn't have to be perfect).
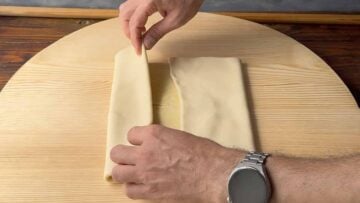
- Brush with butter again, fold it in half, brush with butter once more, and fold it in half again. Repeat the same process with the second piece of dough.👉 You should have some butter left. This will be used for brushing the surface of the pie before baking.👉 With this folding technique you create a phyllo sheet with 8 layers. For me, this is the perfect number. If you fold the phyllo one more time you'll get 16 thinner layers for each sheet.👉 Note that this folding/buttering technique resembles a lamination method↗️ but with less folds.
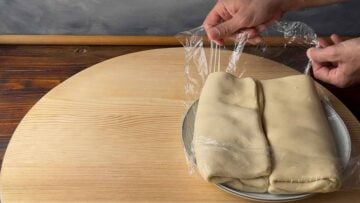
- Place the dough pieces in an airtight container or in a bowl covered with plastic wrap and refrigerate for 1-3 days. At this stage you can also freeze the dough.
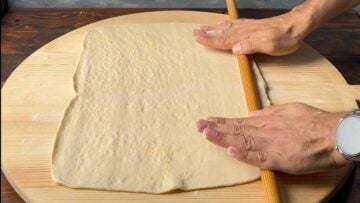
- Make a pie: Take the phyllo dough out of the fridge. At first, it will be hard. Press it firmly with the rolling pin to flatten it and make it softer. Then, roll out two large rectangular sheets.For a sheet pan, I make the the bottom sheet of dough 15×12.6 inches (38x32cm) and the top sheet 21.6×12.6 inches (55x32 cm) - the top sheet is larger because it's crinkled when placed on top of the pie.(If you're making a pie in a round baking pan, first shape the dough into a ball, the flatten into a disc with your hands and then roll out with the rolling pin).👉 Lightly brush the surface of the pie with butter. Prick the top with a fork to allow steam to escape during baking.👉 Immediately before baking, sprinkle the surface with a little water.
Notes
Storage:
➡️ Refrigerator: Wrap the phyllo tightly in plastic wrap or place it in an airtight container. Refrigerate for up to 4 days. ➡️ Freezer: Wrap tightly in plastic wrap, then place in a freezer bag or airtight container. Freeze for up to 6 months. Thaw overnight in the refrigerator before using.More recipes you'll love:
- Spanakopita (Easy Greek Spinach Pie)
- Tiropitakia (EASY Savory Hand Pies with Feta)
- Easy chicken pot pie with puff pastry double crust 🥧
Nutrition
👨🍳 Expert Tips
Follow these expert tips to make the best Greek phyllo pastry:
✅ The secret to good phyllo dough is developing enough gluten to make the dough elastic without making it tough. Resting the dough is not an optional step. It allows the gluten strands to relax, making the dough easier to roll without shrinking back.
✅ The dough for the phyllo needs two resting times (that's why I suggest making it in advance):
- The first is for the gluten to relax so that you can roll it out and brush it with butter to create the layers (this can be 30-60 minutes - at room temperature).
- The second resting time is for the folded dough. The butter inside the dough needs enough time to chill and the dough needs time to mature (this can be a few hours to 4 days - in the refrigerator)
✅ For the crispiest phyllo, make sure to use clarified butter or ghee. Normal butter is 80% fat and the rest is moisture which makes the phyllo less crispy.
✅ When making your pie, crinkle the phyllo sheets so that air gets trapped between the crinkles. This will make the phyllo more crispy.
✅ Don't forget to brush with butter the surface and the edges of the pie.
✅ Just before baking spray the surface of the pie with water. It will make it extra crispy.
✅ Bake in a preheated fan oven. If your oven doesn't have a fan, increase the temperature by about 25°F (20°C).
✏️ Phyllo dough uses
This phyllo pastry is perfect for many Mediterranean dishes and savory recipes such as:
Spanakopita (spinach and feta pie)
Hand pies with any of the above fillings
Spiral pies (snail-shaped pies)
Sausage rolls
Baked Brie wrapped in phyllo
Mini tartlets
Börek/Burek (cheese, spinach, potato, or meat)
Though this rustic phyllo is mostly used in savory recipes, I can't find an reason why you shouldn't use it to make sweet pastries such as Apple strudel (rustic version) and hand pies with a sweet filling.
🍳 More Greek Recipes
If you tried this easy phyllo dough recipe, please leave a 🌟 star rating and let me know how it went in the 📝 comments below. I love hearing from you!

Leave a Reply